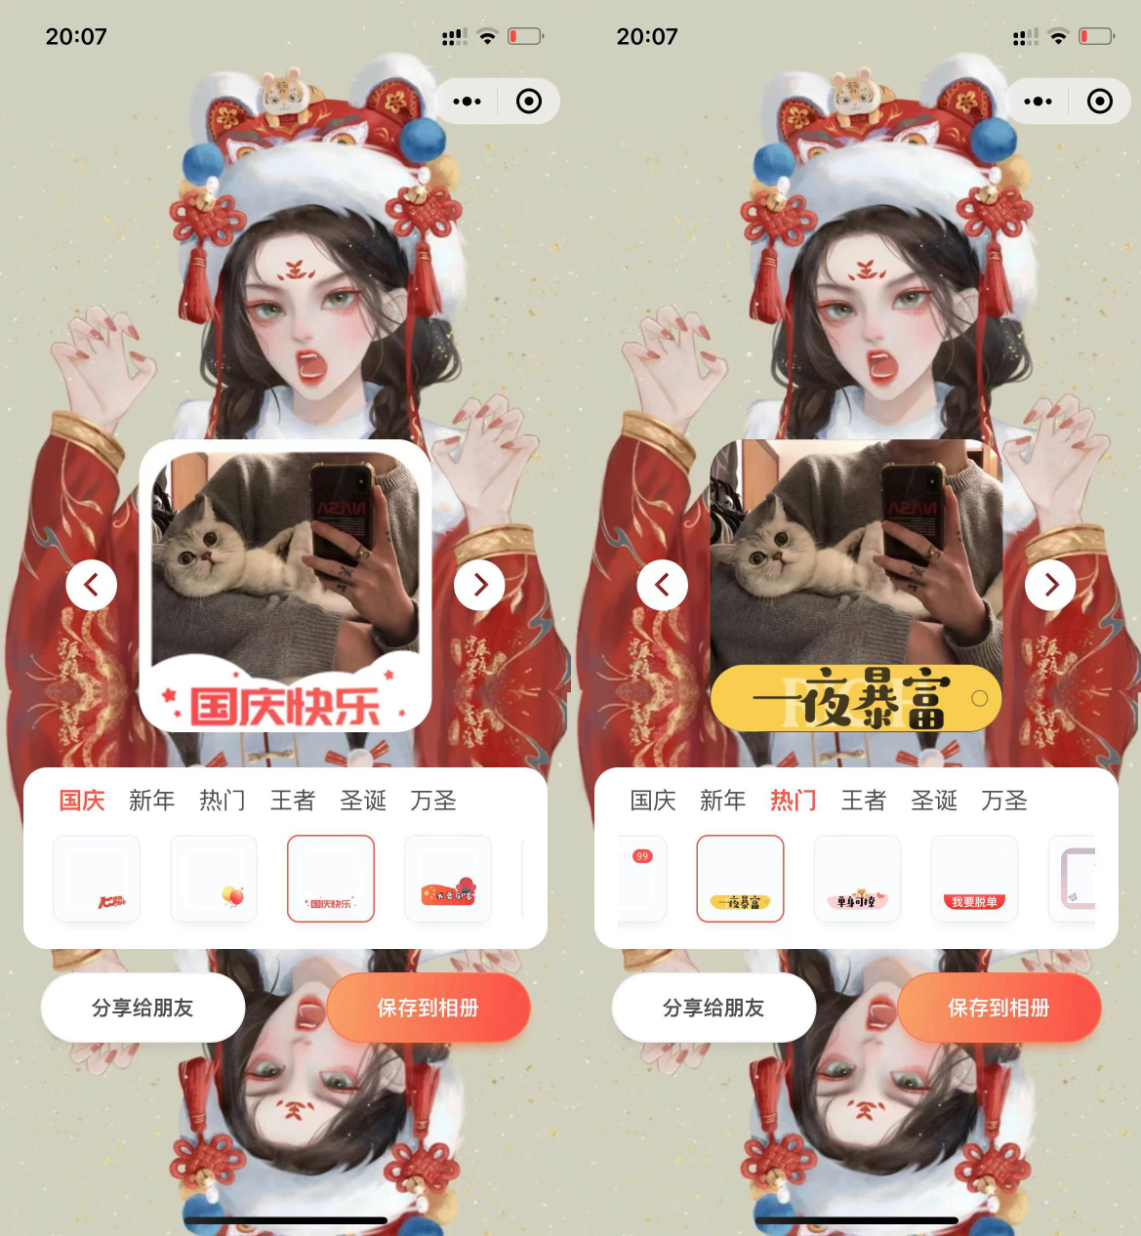
这是一款非常实用的jQuery和css3移动滑块比较图像插件。我们在jquery拖动滑块切换图片的图片切换插件和jquery通过滑块移动改变图片颜色插件都曾见过类似的效果。
当你制作了一个产品页面,有很多种创建图像效果的方法可以使用户“体验”你的产品。这款移动滑块比较图像插件就是其中之一。你可以去看看Sony Ultra HD TV产品页,他们也只用了这个图像特效来展示他们的产品。Google在他们的 Google+ Photos 使用了这个特效。
HTML结构
html结构中使用一个figure作为包装容器包住原始图片、修改的图片和滑块。
<figure class="cd-image-container">
  <img src="img/img-original.jpg" alt="Original Image">
  <span class="cd-image-label" data-type="original">Original</span>

  <div class="cd-resize-img"> <!-- the resizable image on top -->
    <img src="img/img-modified.jpg" alt="Modified Image">
    <span class="cd-image-label" data-type="modified">Modified</span>
  </div>

  <span class="cd-handle"></span> <!-- slider handle -->
</figure> <!-- cd-image-container -->
CSS样式
.cd-resize-image 开始时宽度设置为0,然后当它进入浏览器窗口时,宽度变为50%。我们还使用cd-bounce-in 动画来创建一种反弹效果。
.cd-resize-img {
  position: absolute;
  top: 0;
  left: 0;
  height: 100%;
  width: 0;
  overflow: hidden;
  /* Force Hardware Acceleration in WebKit */
  transform: translateZ(0);
  backface-visibility: hidden;
}
.is-visible .cd-resize-img {
  width: 50%;
  /* bounce in animation of the modified image */
  animation: cd-bounce-in 0.7s;
}
@keyframes cd-bounce-in {
  0% {
    width: 0;
  }
  60% {
    width: 55%;
  }
  100% {
    width: 50%;
  }
}
JAVASCRIPT
为了实现滑块功能,我们为.cd-handle元素提供了drags()方法来使它可以被拖动。(参看 CSS-Tricks )
当设备在.cd-handle元素上按下并拖动时,我们根据当前鼠标的位置来更新.cd-handle的left值。并且改变div.cd-image-size的宽度。
为了添加移动设备的支持,我们使用了jQuery mobile(注意:在触摸屏设备上使用vmouse事件来模拟mouse事件)。
jQuery(document).ready(function($){
    //function to check if the .cd-image-container is in the viewport here
    // ...

    //make the .cd-handle element draggable and modify .cd-resize-img width according to its position
    $('.cd-image-container').each(function(){
        var actual = $(this);
        drags(actual.find('.cd-handle'), actual.find('.cd-resize-img'), actual);
    });

    //function to upadate images label visibility here
    // ...
});

//draggable funtionality - credits to http://css-tricks.com/snippets/jquery/draggable-without-jquery-ui/
function drags(dragElement, resizeElement, container) {
    dragElement.on("mousedown vmousedown", function(e) {
        dragElement.addClass('draggable');
        resizeElement.addClass('resizable');

        var dragWidth = dragElement.outerWidth(),
            xPosition = dragElement.offset().left + dragWidth - e.pageX,
            containerOffset = container.offset().left,
            containerWidth = container.outerWidth(),
            minLeft = containerOffset + 10,
            maxLeft = containerOffset + containerWidth - dragWidth - 10;

        dragElement.parents().on("mousemove vmousemove", function(e) {
            leftValue = e.pageX + xPosition - dragWidth;

            //constrain the draggable element to move inside its container
            if(leftValue  maxLeft) {
                leftValue = maxLeft;
            }

            widthValue = (leftValue + dragWidth/2 - containerOffset)*100/containerWidth+'%';

            $('.draggable').css('left', widthValue).on("mouseup vmouseup", function() {
                $(this).removeClass('draggable');
                resizeElement.removeClass('resizable');
            });

            $('.resizable').css('width', widthValue);

            //function to upadate images label visibility here
            // ...

        }).on("mouseup vmouseup", function(e){
            dragElement.removeClass('draggable');
            resizeElement.removeClass('resizable');
        });
        e.preventDefault();
    }).on("mouseup vmouseup", function(e) {
        dragElement.removeClass('draggable');
        resizeElement.removeClass('resizable');
    });
}
版权声明
版权说明: 仅限用于学习和研究目的;不得将上述内容用于商业和非法用途!否则一切后果自负。我们非常重视版权问题,如有侵权请邮件至(171373236#qq.com)与我们联系处理,敬请谅解!


