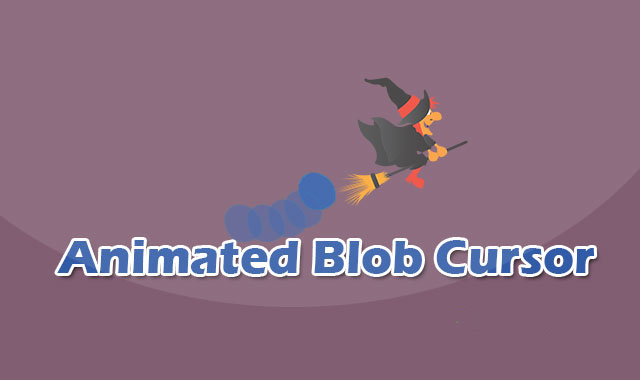
这是一款js和CSS3自定义鼠标特效。该特效中,使用一个DIV元素来自定义鼠标,通过CSS代码来构建鼠标的形状,并通过js代码来驱动鼠标的动画。
使用方法
HTML结构
基本的HTML结构如下。
<!--鼠标形状元素-->
<div id="cursorBlob"></div>
<!--页面内容-->
<div class="wrap">

</div>
CSS样式
为鼠标元素添加一些基础的CSS样式。
#cursorBlob {
  width: 50px;
  height: 50px;
  background: linear-gradient(120deg, #FF1744, #E040FB, #2979FF, #00E5FF, #76FF03);
  background-size: 1600% 1600%;
  position: absolute;
  mix-blend-mode: difference;
  pointer-events: none;
  z-index: 1;
  transition: 0.15s linear;
  animation: blobRadius 5s ease infinite, blobBackground 15s ease infinite;
}

@keyframes blobRadius {
  0%, 100% {
    border-radius: 43% 77% 80% 40% / 40% 40% 80% 80%;
  }
  20% {
    border-radius: 47% 73% 61% 59% / 47% 75% 45% 73%;
  }
  40% {
    border-radius: 46% 74% 74% 46% / 74% 58% 62% 46%;
  }
  60% {
    border-radius: 47% 73% 61% 59% / 40% 40% 80% 80%;
  }
  80% {
    border-radius: 50% 70% 52% 68% / 51% 61% 59% 69%;
  }
}
@keyframes blobBackground {
  0%, 100% {
    background-position: 0% 50%;
  }
  50% {
    background-position: 100% 50%;
  }
}
Javascript
最后通过下面的JS代码来在鼠标移动时,将制定的鼠标形状元素跟随鼠标一起移动。
const blobCursor = (() => {
const CURSOR = document.querySelector('#cursorBlob');
const LINKS = document.querySelectorAll('.nav__link');
const setCursorPos = e => {
const { pageX: posX, pageY: posY } = e;
CURSOR.style.top = `${posY - CURSOR.offsetHeight / 2}px`;
CURSOR.style.left = `${posX - CURSOR.offsetWidth / 2}px`;
};
document.addEventListener('mousemove', setCursorPos);

const setCursorHover = () => CURSOR.style.transform = 'scale(2.5)';
const removeCursorHover = () => CURSOR.style.transform = '';
LINKS.forEach(link => link.addEventListener('mouseover', setCursorHover));
LINKS.forEach(link => link.addEventListener('mouseleave', removeCursorHover));

})();
该js和CSS3自定义鼠标特效的codepen网址为:https://codepen.io/hiMRK/pen/ErMoKO
版权声明
版权说明: 仅限用于学习和研究目的;不得将上述内容用于商业和非法用途!否则一切后果自负。我们非常重视版权问题,如有侵权请邮件至(171373236#qq.com)与我们联系处理,敬请谅解!

